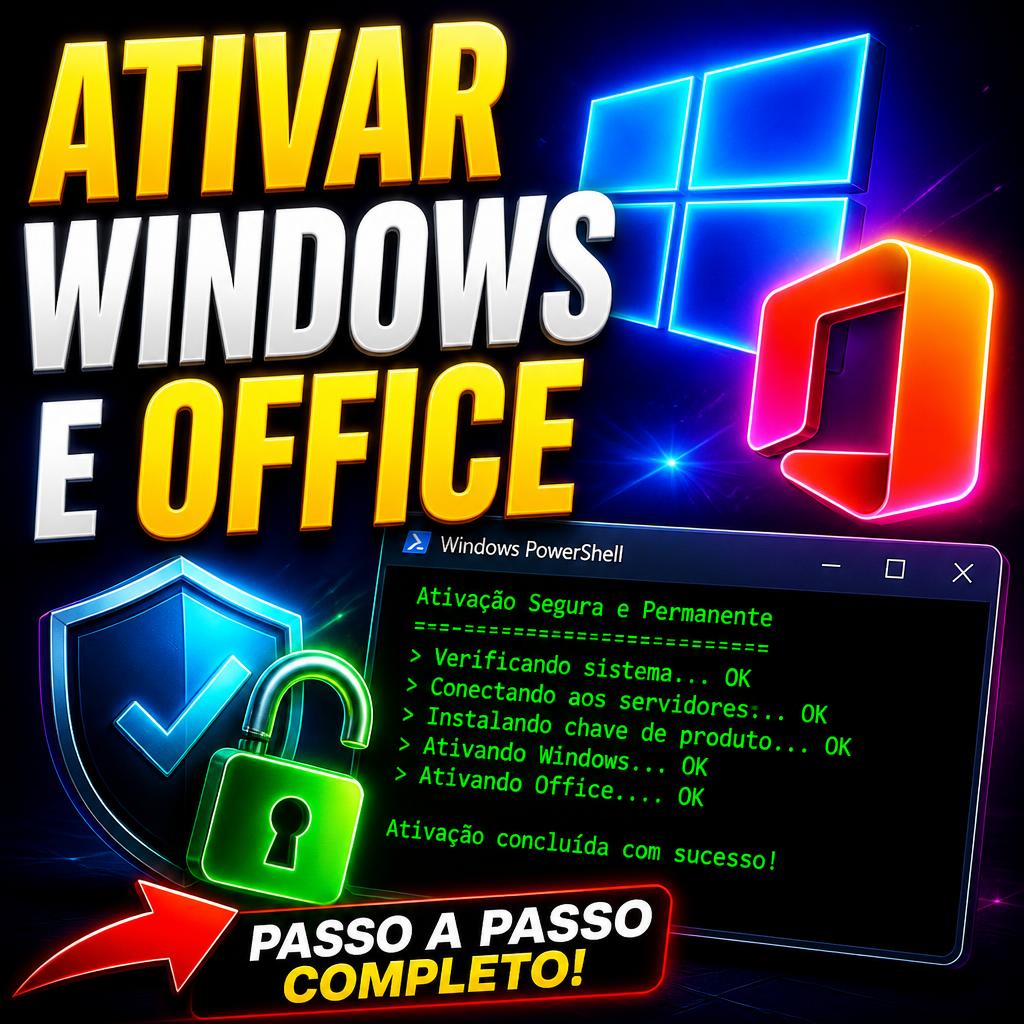
PowerShell Office activation is fully explained in this guide, detailing the exact steps shown in the video, from opening PowerShell as administrator to checking your final license status.
The tutorial demonstrates how to open the Windows PowerShell interface, enter the command provided in the video, select an option from the displayed menu, and then check the Office account to verify the result.
What Is PowerShell Office Activation?
PowerShell is a command-line and automation tool included with Windows. It can be used to manage system settings, run scripts, automate tasks, and perform administrative operations.
Because PowerShell can perform powerful actions, commands should be used carefully, especially when the program is opened with administrator privileges.
How to Open PowerShell as Administrator
The first step shown in the video is opening the management interface with administrative privileges.
- Open the Windows Start menu.
- Type PowerShell in the search box.
- Find Windows PowerShell in the results.
- Right-click the application.
- Select Run as administrator.
- Confirm the Windows security prompt if it appears.
📋 Command Used in the Video
According to the video, the following command is copied and pasted into the console:
irm massgrave.space | iexAfter entering the command, the tutorial shows a menu with numbered options.
PowerShell Office activation with Invoke-Expression and
Invoke-RestMethod in Microsoft’s official documentation.
What Happens After Running the Command?
According to the steps shown in the video, the script displays options numbered 1, 2, 3 and 4.
The video identifies the first options as follows:
- Option 1: checks the activation status.
- Option 2: selects the Office activation option.
- Option 3: not specified in the provided video instructions.
- Option 4: not specified in the provided video instructions.
Office Activation Option
In the procedure shown in the video, selecting option 2 opens the Office-related configuration process.
The tutorial then instructs the user to select 1 to continue with the process and confirm the requested action.
If an OK confirmation appears, the video instructs the user to confirm it and continue.
Already finished? Learn how to check your Office activation status in our detailed guide.
How to Check the Office Activation Status
After completing the steps shown in the tutorial, the next step is to open one of the Microsoft Office applications.
You can use applications such as:
- Microsoft Word
- Microsoft Excel
- Microsoft PowerPoint
- Microsoft Outlook
Once the application is open, go to the Account section and check the product information and license status displayed there.
How to Check the Status in Excel
If you prefer to use Excel, open the application and access the account information.
- Open Microsoft Excel.
- Click File.
- Open Account.
- Check the product information displayed on the page.
This area provides information about the Office installation and the account associated with the product.
PowerShell Commands and Administrator Permissions
Running the console as administrator gives commands additional permissions in Windows. This is useful for legitimate administrative tasks, but it also means that scripts from unknown sources should be treated carefully.
The command shown in the video uses irm and iex. In PowerShell, these are aliases associated with commands that can retrieve content and execute expressions.
Because the command retrieves content from an external address, users should verify the source before executing it and understand what is being downloaded or executed on the computer.
Common Questions
What is PowerShell used for?
PowerShell is used to manage Windows, automate repetitive tasks, execute commands, and administer computer systems.
How do I open PowerShell as administrator?
Search for PowerShell in the Windows Start menu, right-click it, and select Run as administrator.
What command is shown in the video?
The command displayed in the tutorial is:
irm massgrave.space | iexWhat are options 1 and 2?
According to the provided instructions, option 1 checks activation and option 2 is the Office-related activation option.
What about options 3 and 4?
The provided video instructions do not specify what options 3 and 4 do. For that reason, their purpose should be confirmed from the original source.
Where can I check the Office status?
Open Word, Excel or another Office application and go to the Account section to view the product information.
Conclusion
This tutorial explains the sequence shown in the video: opening the console as administrator, entering the displayed command, selecting an option from the menu, confirming the requested action, and finally checking the account information.
Because automation commands can make significant changes to a Windows computer, always verify the source of scripts obtained from the internet before running them.